After a wee cup o' tea and a chat, we sat down for our second game of Men of Bronze. Amending our units of measurements from the previous game, we agreed that 1BW = 1cm (effectively halving the distances from last time).
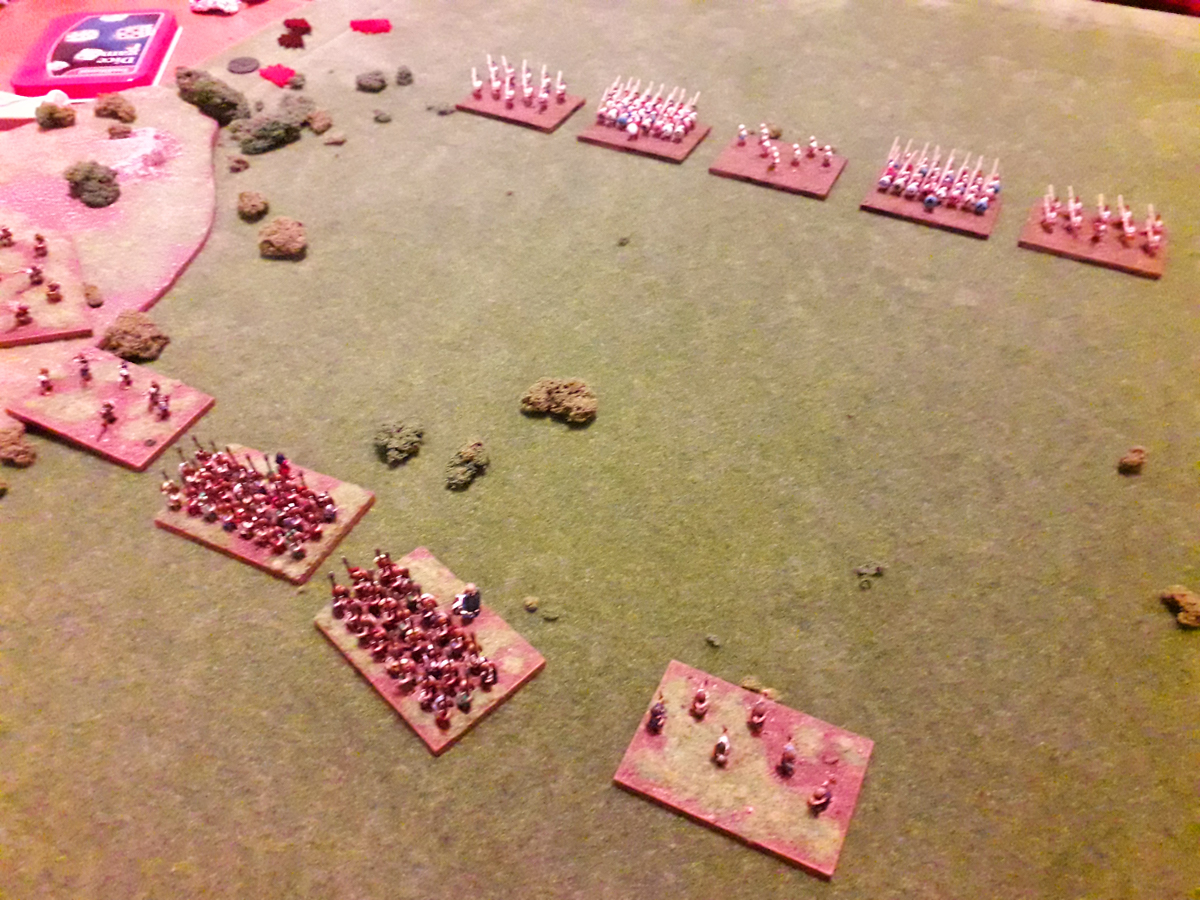
We were playing with the same sized forces as last time. Lee (top of the photo above) commanded the same two drilled hoplite phalanxes, two units of peltasts, and a unit of slingers, all nominally hailing from - or employed by - Corinth. My force (bottom of the photo above) was sort of similar with two units of drilled hoplites, two units of slingers and a unit of archers, all mercenaries in the pay of the king of Lowland Macedonia.
Again, the first few turns were all about moving in the general direction of the enemy. While I tried to make use of the rough terrain on my left...
... Leeandros pulled his peltasts back out of range, seeking shelter behind the phalanxes. In general, I think we both agreed that the shorter movement rates (1cm BWs) meant that the units stuck closer together and looked more like an ancient army rather than a selection of units thrown together (as we found last game).
At this point I was beginning to feel that Leeandros was concentrating his strength at one end of m line. My slingers were snarling from the rough hill slopes, but weren't sure they wanted to come down off the hill into the open plain.
The most beautiful game mechanic moment of the battle then unfurled before us as Leeandros ordered his left-most hoplite phalanx to charge my archers. As there is no pre-measurement allowed in the game, he sent them forward only to discover that they didn't have the movement. The hoplites stumbled to a confused halt just short of the archers, breaking into open order and becoming disordered. My archers unleashed a volley at point-blank range, causing the hoplites to lose a point of courage.
At that moment, I broke my right-most hoplites into open order swung to the right, ordered them back into phalanx formation and charged the wavering Corinthians. My other hoplite unit also charged forward, straight into the other unit of Corinthain hoplites. Lee chose to bring in two neighbouring units (peltasts and slingers) as supports. Initially we sort of smudged them both in behind the Corinthian hoplites, only later forming them 'properly' into an outlandish looking column (below).
I brought one unit of slingers up behind my archers ready to provide some support as I expected to be charged by the last unit of Corinthian peltasts. Then, unsurprisingly, my archers were charged by some Corinthian peltasts. In the melees of that turn, the archers took a beating, the wavering Corinthian hoplites continued to suffer from the Macedonians attacking their flank, while my other hoplites lost some more courage from the onslaught of the Corinthian column.
In the next round of combats, my archers and slingers lost all their courage and fled. The Macedonian hoplites being attached by the Corinthian column also scattered and ran. Immediately afterwards, the wavering Corinthian hoplites broke and fled. That was enough to cause a collapse test on both armies. While the remaining Macedonian hoplites and slingers stood their ground bravely, the Corinthian army was not so confident.
The only Corinthian unit which remained in the field was the drilled hoplites. They broke into open order, turned, and charged (in open order) at the Macedonian slingers...
The Macedonian hoplites, not having learnt the lesson from watching the Corinthians last battle, charged into the Corinthian rear. However, due to the rule anomalies, the Macedonian hoplites were only supporting the slingers in their scuffle with the Corinthians. With the roll of the combat dice, the Macedonians managed to completely route the Corinthian hoplites. However, the Corinthians were fierce enough to have routed the slingers and - again, that support rule - the Macedonian hoplites turned and fled too. With no man left standing on the field of battle, it seems that the crows and next year's harvest are the true winners.
Two games down, the rules are enjoyable, but still a bit of a mixed bag for me. The basic tenants are great. The arete points system is an elegant way of adding friction, and the combat system really is very good. Shorter 'base widths' as a unit of measurement made for a better game than last time. However, the Warhammeresque double-movement-charge-range makes missile weapons pretty obsolete (maybe a regular movement distance charge move would solve that?). More of an issue is that the combat 'support' system just doesn't work for me. I'm not sure what the rational is behind it, but it doesn't feel like it reflects what we know of hoplite/ancient warfare...


Again another great AAR and commentary on the rules
ReplyDeleteStill pondering whether to get them or not
The support rule troubles me and the feeling that they are written for singles not bases
Great painted 10mm armies - love the "mass" each stand has
Two very nice AAR's giving a good idea of how the rules seem to work. Not sure they will be my cup of tea though, the fireworks display effect does not feel too good. The figures look really good though. The hoplite bases in particular really give that massed effect. Well done!
ReplyDeleteAnother good battle report and a cracking read!
ReplyDeleteYou noticed that archers firing is the same as the charge distance of Hoplites. Combined with the move/shoot/fight choice this is a big hamper on missile units. This was a deliberate choice for two reasons:
1. Downplay ranged combat to emphasize shock hoplite combat
2. Ensure missile weapons were mostly used against other support units.
Archer/missile troops should not be an arm of decision in this s game That should be the hoplites/infantry.
As for support, the mechanics choices there are driven by two main points:
ReplyDelete1. Forcing players to choose. Is it better to let a unit go it alone or try and commit other troops to a risky position?
2. Encourage support units to support and not be the tip of the spear. They should maneuver for flank or rear attacks or add their weight for a decisive moment.
If support units do not suffer the fate of units they support it removes risk. No risk removes meaningful decision.
However, I can understand that the support mechanics as written now can seem very odd compared to other ancients rulesets where each unit is handled as a "unique" element of the combat.
Thanks for your support and continuing to post awesome content!
ReplyDelete